Ever looked at a small scratch on your car and thought, surely I can do that? Maybe you’ve even looked at a video on YouTube that shows just how easy it can be to fix your car yourself.
It may sound like a straight-forward task but there is a reason car scratch and dent repairers exist! In fact, DIY repairs can often result in more damage than the original issue if not done correctly.
If you’re hoping to brave it yourself, we have a few tips to get started. But, proceed at your own risk – we advise this is a task best left to the professionals!
Preparation phase
Think you can just dive in and start painting? This is just about the easiest way to ruin a repair – you need to prepare first.
To get started, you need to ensure that your car is positioned in a well-ventilated area, but protected from dust and dirt; this can damage the soon-to-be newly painted surface.
Once you’ve moved your car into the right spot, you then need to clean the area of the scratch thoroughly. Make sure you clean beyond the immediate repair area with wax and grease, using one cloth to apply and another to wipe the surface dry.
Now you’re ready to find your paint. Matching it can be a difficult task – made more difficult by issues such as the age of the paint and sun damage – which is why professional car scratch and dent repairers have their own systems, ensuring your repair is blended seamlessly with your existing car colour.
If you still want to go it alone, you’ll need to find the paint code. Some vehicles have it labelled under the door jamb or under the bonnet. Once you found it, match the first three letters of the code to a paint shop. You’ll also require a primer and wax.
Repairing the scratch
Finally – it’s time to paint. This isn’t a process for the faint-hearted; rushed scratch repairs will look visible and, if you end up having to enlist a professional after trying it yourself, you’ll likely be in for a much larger bill.
- Use masking paper to isolate the repair area. It is important to mask adjacent panels or any area that might be exposed to paint during the process.
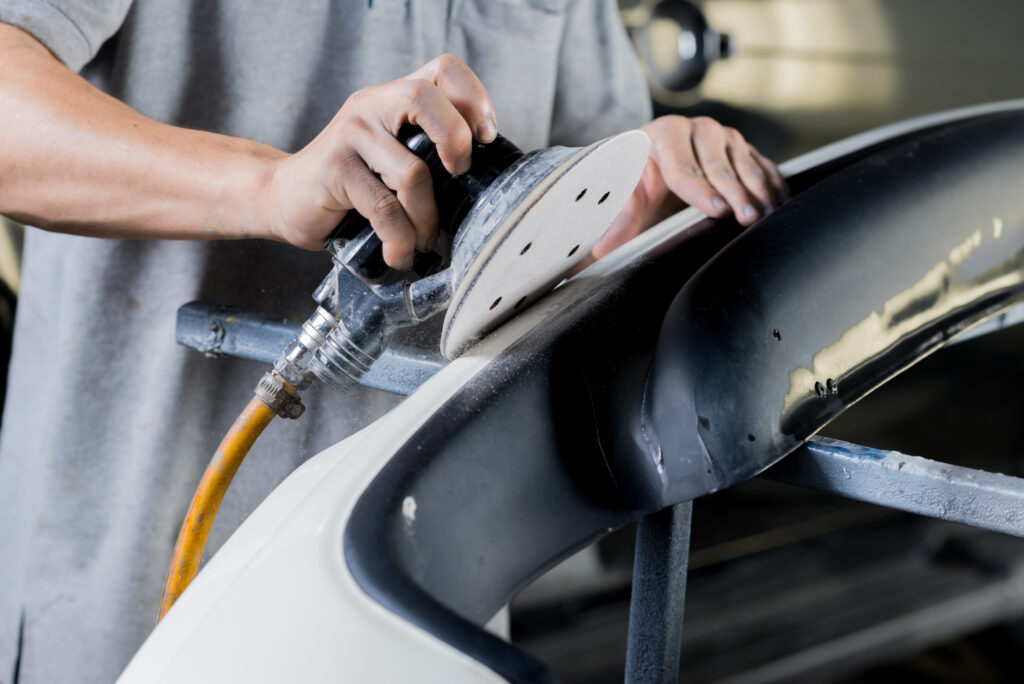
- Sand the damage using sandpaper if it is minor damage. If the damage is severe, sandpaper might not be enough and you’ll need to enlist a professional with the right equipment for the job.
- Remove masking tape so you can see the repair area. Clean the sanded area, ensuring not to leave any residue.
- Using masking tape again, mask off repair areas in preparation for primer.
- Apply two or three medium coats of colour spec primer surfacer.
- Leave it to dry.
- Unmask repair area and sand away any further imperfections in the paint.
- Again, clean the area to ensure it is smooth for painting, with wax and grease remover.
- Using masking paper and tape, mask off the entire car panel in preparation for the paint application, to ensure there is no overspray damage.
- Apply your base coat. This usually requires a minimum of three coats and you should leave for at least five minutes between coats to allow it to dry.
- Apply any additional coats of paint needed to make the area look seamless.
- Leave to dry completely.
- Apply clear acrylic and UV protection to match original finish and protect paint.
- Leave to dry
- Apply polish to achieve a smooth gloss finish.
- Leave it to dry.
And that’s just the basic steps.
Sound difficult and time consuming? We agree. If you would like an easy solution to restore your car back to its former glory, contact the experts at Bumpertek. We do the hard work for you!